
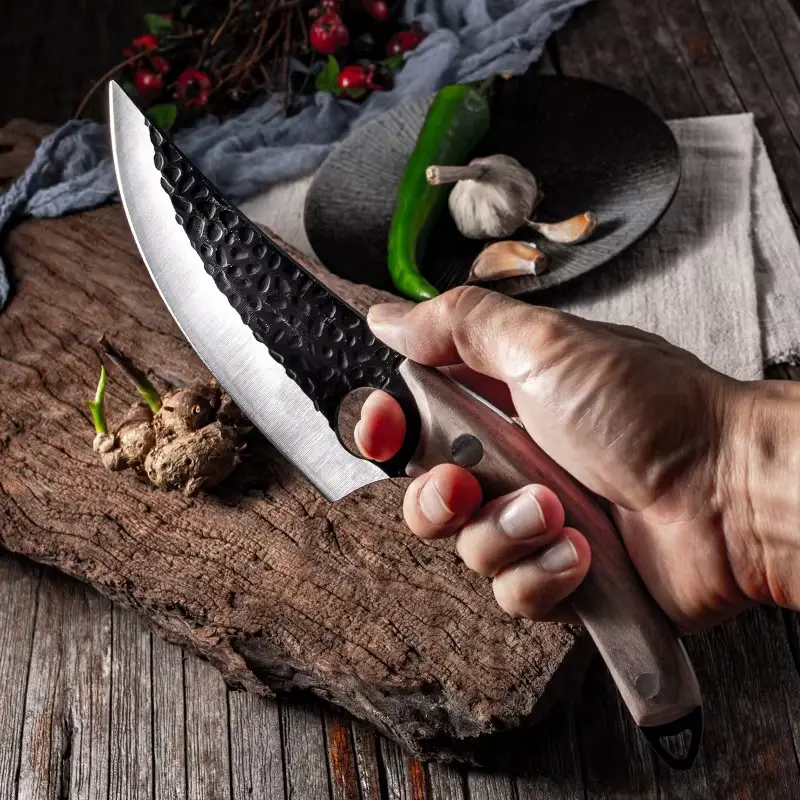
Discover the Kitchen Tool Everyone Is Raving About!
- • Precision Engineered: Sharp blade with durable craftsmanship.
- • Comfort First: Ergonomic design for effortless slicing.
- • Stylish & Strong: Elegant wood handle meets stainless steel strength.
- • Risk-Free Pick: Thousands of happy home chefs can’t be wrong.
- • Today’s Deal: Just $29.95 instead of $99.85 — limited-time offer!
This post may include affiliate links — learn more here .
Introduction
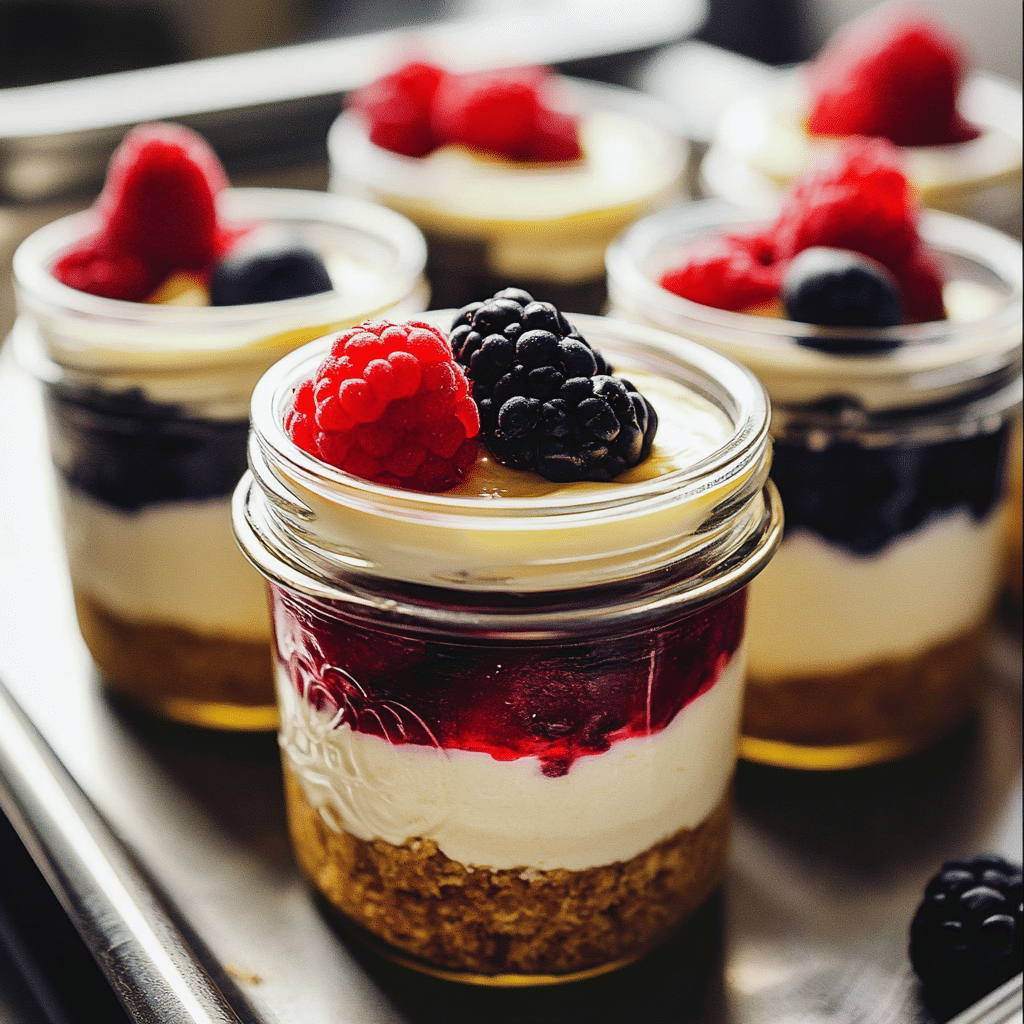
No-Bake Cheesecake Jars are the perfect dessert for anyone looking for a creamy, indulgent treat without the need for an oven. These little jars of heaven are made with a buttery graham cracker crust, a luscious and creamy cheesecake filling, and topped with your favorite fruits, sauces, or even chocolate. The best part? They’re super easy to make and require minimal prep time! Whether you’re hosting a dinner party, celebrating a special occasion, or simply treating yourself to something sweet, No-Bake Cheesecake Jars are a crowd-pleasing dessert that’s sure to impress.
These individual-sized desserts are perfect for serving at a party or even as a homemade gift. With their rich, creamy texture and endless topping possibilities, No-Bake Cheesecake Jars are a delightful way to enjoy cheesecake without the hassle of baking.
Perfect for:
- Celebrations and special occasions
- Family gatherings and potlucks
- Holiday desserts
- Picnic and outdoor events
- Cheesecake lovers
- Quick dessert cravings
Why You’ll Love This Recipe
No-Bake Cheesecake Jars are not only delicious but also incredibly versatile. Here’s why you’ll fall in love with them:
- Creamy and Dreamy Texture: The cheesecake filling is smooth, velvety, and rich, making each bite a truly indulgent experience.
- No Oven Required: Since this is a no-bake recipe, there’s no need to worry about preheating the oven or baking time, making it perfect for warm weather or when you want a quick treat.
- Customizable Toppings: You can top your cheesecake jars with anything from fresh fruit, caramel sauce, chocolate ganache, to even nuts, giving you endless flavor combinations.
- Portable and Convenient: Since they’re served in individual jars, No-Bake Cheesecake Jars are easy to store, serve, and share with others.
- Quick and Easy: The prep time is minimal, and you don’t need to be a seasoned baker to whip up these jars. It’s the perfect dessert for beginners and busy home cooks alike.
Preparation and Cooking Time
- Total Time: 4 hours (includes chilling time)
- Preparation Time: 15 minutes
- Chilling Time: 3-4 hours in the fridge
- Servings: 6-8 jars
- Calories per serving: Approximately 350-400 calories
- Key Nutrients: Protein: 5g, Carbs: 38g, Fat: 22g
Ingredients
Here’s what you’ll need to create these delightful No-Bake Cheesecake Jars:
For the Crust:
- 1 ½ cups graham cracker crumbs (or digestive biscuit crumbs for a different texture)
- 4 tablespoons unsalted butter, melted
- 2 tablespoons granulated sugar
- A pinch of salt
For the Cheesecake Filling:
- 2 cups cream cheese (room temperature)
- 1 cup heavy whipping cream (chilled)
- ½ cup powdered sugar
- 1 teaspoon vanilla extract
- 2 teaspoons lemon juice (optional, but adds a nice tang)
- ½ cup sour cream (optional, for extra creaminess)
Toppings (Optional):
- Fresh berries (strawberries, blueberries, raspberries)
- Fruit compote or fruit sauce (such as strawberry or blueberry sauce)
- Chocolate shavings or ganache
- Caramel sauce
- Crushed nuts (such as almonds, pistachios, or pecans)
- Shredded coconut
Ingredient Highlights
- Graham Cracker Crumbs: The base of the crust provides a crisp and flavorful contrast to the smooth cheesecake filling.
- Cream Cheese: The rich, tangy flavor of cream cheese is the foundation of the cheesecake filling.
- Heavy Whipping Cream: Whipped cream adds lightness and airiness to the cheesecake, giving it a fluffy yet rich texture.
- Powdered Sugar: Powdered sugar creates a smoother, sweeter finish to the cheesecake filling.
- Sour Cream: Adds richness and a slightly tangy flavor that balances the sweetness of the filling.
- Lemon Juice: Just a bit of lemon juice brightens the flavor, giving the cheesecake a refreshing tang.
Step-by-Step

Follow these simple steps to make the perfect No-Bake Cheesecake Jars:
Prepare the Crust:
- Crush the Graham Crackers: Begin by placing your graham crackers (or digestive biscuits) in a food processor. Pulse until you get fine crumbs. If you don’t have a food processor, you can place the crackers in a resealable bag and crush them using a rolling pin.
- Combine the Crust Ingredients: In a bowl, mix the graham cracker crumbs, granulated sugar, and a pinch of salt. Add the melted butter and stir until the mixture is evenly coated and resembles wet sand.
- Fill the Jars: Divide the graham cracker mixture evenly among your jars or dessert cups. Use the back of a spoon to press the crumbs down firmly, creating a compact base.
- Chill the Crust: Place the jars in the fridge to set the crust for at least 15-20 minutes while you prepare the cheesecake filling.
Make the Cheesecake Filling:
- Whip the Heavy Cream: In a chilled mixing bowl, beat the heavy whipping cream with a hand mixer on medium-high speed until stiff peaks form. Set aside.
- Cream the Cream Cheese: In another bowl, beat the room-temperature cream cheese and powdered sugar until smooth and creamy.
- Add the Vanilla, Lemon Juice, and Sour Cream: Stir in the vanilla extract, lemon juice (if using), and sour cream. Mix until fully incorporated.
- Fold in the Whipped Cream: Gently fold in the whipped heavy cream into the cream cheese mixture using a spatula. Be careful not to deflate the whipped cream – you want to keep the texture light and airy.
- Layer the Cheesecake Filling: Spoon the cheesecake filling into the jars on top of the graham cracker crust. Use a spoon or spatula to smooth the top and create an even layer.
Chill and Set:
- Refrigerate the Cheesecake Jars: Place the filled jars in the fridge and let them chill for 3-4 hours, or until the cheesecake is set and firm to the touch. If you’re in a hurry, you can freeze them for 1-2 hours, but the texture may not be as smooth.
Add the Toppings:
- Top with Fresh Fruits: Once the cheesecake has set, you can top your jars with fresh berries, a drizzle of fruit sauce, or chocolate ganache.
- Garnish: For an extra touch, sprinkle some crushed nuts or shredded coconut on top for texture, or drizzle with caramel sauce for added sweetness.
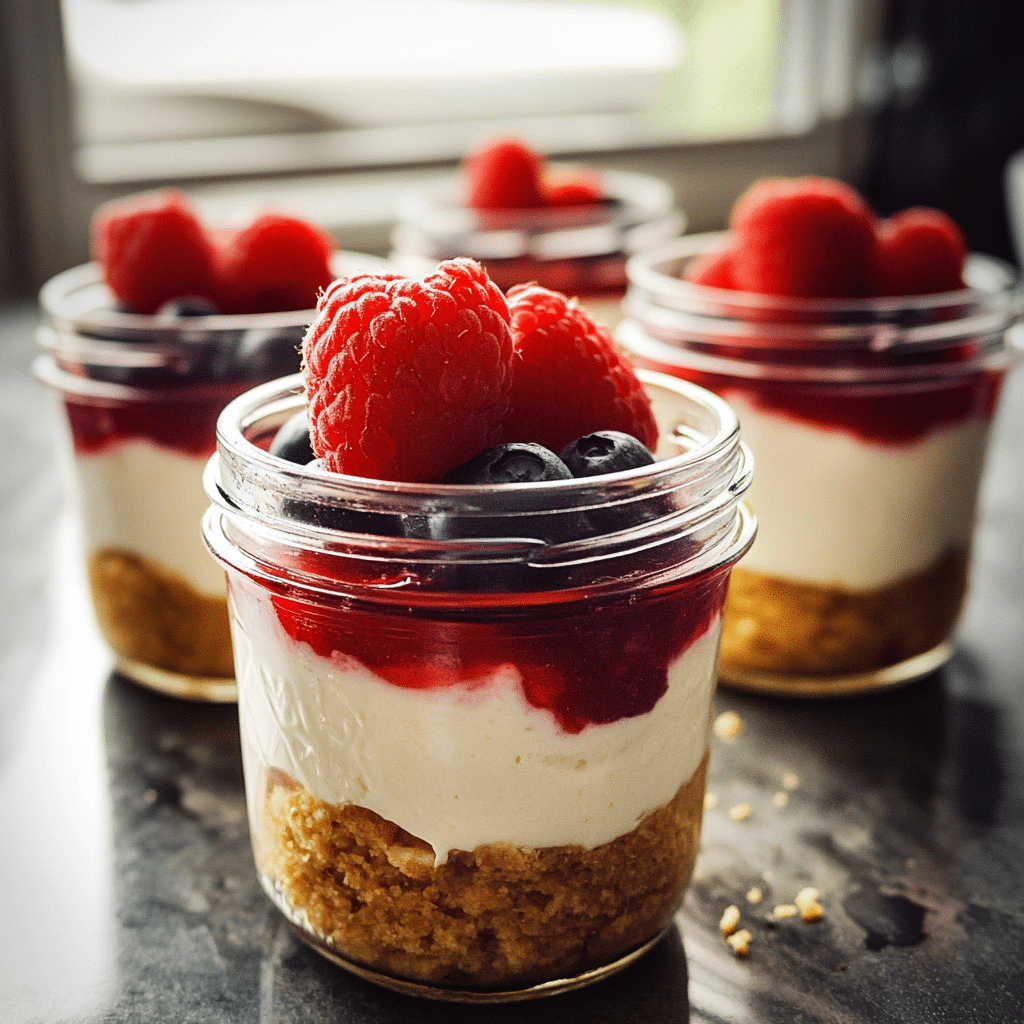
How to Serve No-Bake Cheesecake Jars
No-Bake Cheesecake Jars are versatile and can be served in a variety of ways:
- For Parties: These individual-sized desserts are perfect for serving at parties or family gatherings. You can even decorate the jars with festive toppings for holidays or special events.
- As a Gift: Pack a few jars in a cute gift box or basket for a homemade gift idea that’s both thoughtful and delicious.
- With Coffee or Tea: The rich, creamy flavor of the cheesecake pairs perfectly with a cup of coffee or tea, making it an ideal dessert for an afternoon break.
- Topped with Whipped Cream: For an extra indulgent treat, serve with a dollop of freshly whipped cream on top of each jar.
- With Chocolate Ganache: For chocolate lovers, drizzle some homemade or store-bought chocolate ganache over the top before serving.
Additional Tips for No-Bake Cheesecake Jars
Here are a few tips to make your No-Bake Cheesecake Jars even better:
- Use Room Temperature Cream Cheese: Be sure to soften the cream cheese before mixing it. Cold cream cheese will result in a lumpy filling, so let it sit out for about 30 minutes before use.
- Don’t Skip the Chilling Time: For the best texture and consistency, allow the cheesecake to chill for several hours. This gives it time to firm up and makes it easier to scoop out.
- Add Zest for Extra Flavor: Add some lemon zest to the cheesecake filling for an extra burst of citrus flavor that enhances the overall taste.
- Make Ahead: These jars can be made a day or two in advance, making them perfect for meal prep or ahead-of-time desserts.
Recipe Variations of No-Bake Cheesecake Jars
Here are 10 variations of No-Bake Cheesecake Jars to try:
- Strawberry Cheesecake Jars: Top with fresh strawberries or strawberry compote for a classic flavor combination.
- Chocolate Cheesecake Jars: Add melted chocolate to the cheesecake filling or top with chocolate ganache for a rich chocolate version.
- Coconut Cheesecake Jars: Stir in shredded coconut to the cheesecake filling for a tropical twist.
- Lemon Cheesecake Jars: Add extra lemon zest and a lemon curd topping for a tangy, refreshing flavor.
- Pumpkin Cheesecake Jars: Add pumpkin puree and a pinch of cinnamon and nutmeg for a fall-inspired treat.
- Peanut Butter Cheesecake Jars: Swirl in some peanut butter for a creamy, nutty twist.
- S’mores Cheesecake Jars: Add graham cracker crumbs to the filling, top with mini marshmallows, and drizzle with chocolate sauce for a s’mores-inspired dessert.
- Tiramisu Cheesecake Jars: Soak ladyfingers in coffee or espresso and layer them with the cheesecake filling for a tiramisu-flavored variation.
- Raspberry Cheesecake Jars: Add fresh raspberries or raspberry compote for a tart and sweet contrast.
- Caramel Cheesecake Jars: Drizzle caramel sauce on top and sprinkle with a bit of sea salt for a salty-sweet flavor.
Freezing and Storage for No-Bake Cheesecake Jars
- Freezing: You can freeze these cheesecake jars for up to 2 months. Wrap them tightly in plastic wrap or store in an airtight container before freezing. Thaw in the fridge overnight before serving.
- Storage: Store the jars in the fridge for up to 4 days. They will stay fresh and creamy, ready to enjoy whenever you crave a sweet treat.
Special Equipment for No-Bake Cheesecake Jars
Here are special equipment items you might need to make No-Bake Cheesecake Jars:
- Mini Jars or Dessert Cups: Small jars or cups are perfect for creating individual servings of cheesecake.
- Hand Mixer: A hand mixer makes whipping the cream and cream cheese easy and ensures a smooth, airy filling.
- Food Processor: A food processor makes crushing the graham crackers a breeze, but you can also use a rolling pin and resealable bag.
- Measuring Cups and Spoons: Accurate measurements are key for the perfect cheesecake filling and crust.
- Spatula: A silicone spatula is ideal for folding in the whipped cream and filling the jars.
FAQ Section about No-Bake Cheesecake Jars
- Can I make these without graham crackers?
Yes, you can use other cookies like digestive biscuits, Oreos, or even pretzels for a different flavor base. - Can I make this recipe dairy-free?
Yes, you can substitute dairy-free cream cheese, coconut cream, and dairy-free whipped cream for a dairy-free version. - How long do the jars need to chill?
For the best texture, chill the jars for 3-4 hours. You can also leave them overnight for an even firmer set. - Can I use flavored yogurt instead of sour cream?
Yes, plain or flavored yogurt can replace sour cream for a lighter option. - Can I use a store-bought crust?
Yes, if you’re short on time, you can use a pre-made graham cracker crust or another biscuit-based crust.
No-Bake Cheesecake Jars
- Total Time: 4hours
Ingredients
For the Crust:
-
1 ½ cups graham cracker crumbs (or digestive biscuit crumbs for a different texture)
-
4 tablespoons unsalted butter, melted
-
2 tablespoons granulated sugar
-
A pinch of salt
For the Cheesecake Filling:
-
2 cups cream cheese (room temperature)
-
1 cup heavy whipping cream (chilled)
-
½ cup powdered sugar
-
1 teaspoon vanilla extract
-
2 teaspoons lemon juice (optional, but adds a nice tang)
-
½ cup sour cream (optional, for extra creaminess)
Toppings (Optional):
-
Fresh berries (strawberries, blueberries, raspberries)
-
Fruit compote or fruit sauce (such as strawberry or blueberry sauce)
-
Chocolate shavings or ganache
-
Caramel sauce
-
Crushed nuts (such as almonds, pistachios, or pecans)
-
Shredded coconut
Ingredient Highlights
-
Graham Cracker Crumbs: The base of the crust provides a crisp and flavorful contrast to the smooth cheesecake filling.
-
Cream Cheese: The rich, tangy flavor of cream cheese is the foundation of the cheesecake filling.
-
Heavy Whipping Cream: Whipped cream adds lightness and airiness to the cheesecake, giving it a fluffy yet rich texture.
-
Powdered Sugar: Powdered sugar creates a smoother, sweeter finish to the cheesecake filling.
-
Sour Cream: Adds richness and a slightly tangy flavor that balances the sweetness of the filling.
-
Lemon Juice: Just a bit of lemon juice brightens the flavor, giving the cheesecake a refreshing tang.
Instructions
Prepare the Crust:
-
Crush the Graham Crackers: Begin by placing your graham crackers (or digestive biscuits) in a food processor. Pulse until you get fine crumbs. If you don’t have a food processor, you can place the crackers in a resealable bag and crush them using a rolling pin.
-
Combine the Crust Ingredients: In a bowl, mix the graham cracker crumbs, granulated sugar, and a pinch of salt. Add the melted butter and stir until the mixture is evenly coated and resembles wet sand.
-
Fill the Jars: Divide the graham cracker mixture evenly among your jars or dessert cups. Use the back of a spoon to press the crumbs down firmly, creating a compact base.
-
Chill the Crust: Place the jars in the fridge to set the crust for at least 15-20 minutes while you prepare the cheesecake filling.
Make the Cheesecake Filling:
-
Whip the Heavy Cream: In a chilled mixing bowl, beat the heavy whipping cream with a hand mixer on medium-high speed until stiff peaks form. Set aside.
-
Cream the Cream Cheese: In another bowl, beat the room-temperature cream cheese and powdered sugar until smooth and creamy.
-
Add the Vanilla, Lemon Juice, and Sour Cream: Stir in the vanilla extract, lemon juice (if using), and sour cream. Mix until fully incorporated.
-
Fold in the Whipped Cream: Gently fold in the whipped heavy cream into the cream cheese mixture using a spatula. Be careful not to deflate the whipped cream – you want to keep the texture light and airy.
-
Layer the Cheesecake Filling: Spoon the cheesecake filling into the jars on top of the graham cracker crust. Use a spoon or spatula to smooth the top and create an even layer.
Chill and Set:
-
Refrigerate the Cheesecake Jars: Place the filled jars in the fridge and let them chill for 3-4 hours, or until the cheesecake is set and firm to the touch. If you’re in a hurry, you can freeze them for 1-2 hours, but the texture may not be as smooth.
Add the Toppings:
-
Top with Fresh Fruits: Once the cheesecake has set, you can top your jars with fresh berries, a drizzle of fruit sauce, or chocolate ganache.
-
Garnish: For an extra touch, sprinkle some crushed nuts or shredded coconut on top for texture, or drizzle with caramel sauce for added sweetness.
- Prep Time: 15minutes
Nutrition
- Serving Size: 8
- Calories: 400
- Fat: 22g
- Carbohydrates: 38g
- Protein: 5g
Conclusion
No-Bake Cheesecake Jars are an indulgent, easy-to-make dessert that is perfect for any occasion. Whether you’re looking for a quick treat to satisfy your sweet tooth or a showstopper for a party, these jars are the way to go. With their rich and creamy filling, customizable toppings, and no-bake simplicity, they’re sure to become a favorite in your dessert repertoire. Enjoy making and sharing these delightful cheesecake jars with friends, family, or just for yourself!